Quick Start — extract emails in 3 steps
- Choose source: select Search Engine, Website, Email account, Files, or WHOIS.
- Configure: enter keywords/URLs or select local files; pick Fast or Deep crawl mode.
- Start & export: press Start Search, review results, then Save/Export.
Tip: for initial tests use Fast mode and a few seed URLs; switch to Deep for complete site crawls.
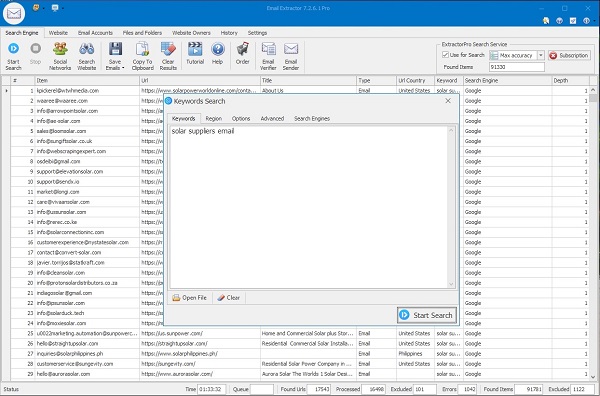
Extract Using Search Engines
Enter keywords and let the app scan search results. Use operators to narrow results:
email inurl:mortgage or contact site:example.com. The extractor parses linked pages and collects emails automatically.
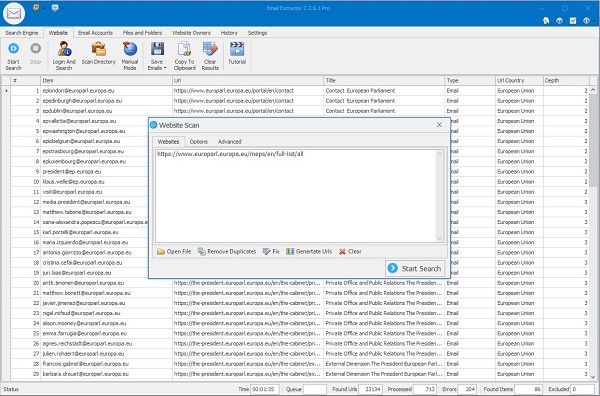
Extract from Websites
Paste any URL and choose crawl depth: Level 1 (page only), Level 2 (page + internal links). Use domain filters to limit the crawl to the same host.
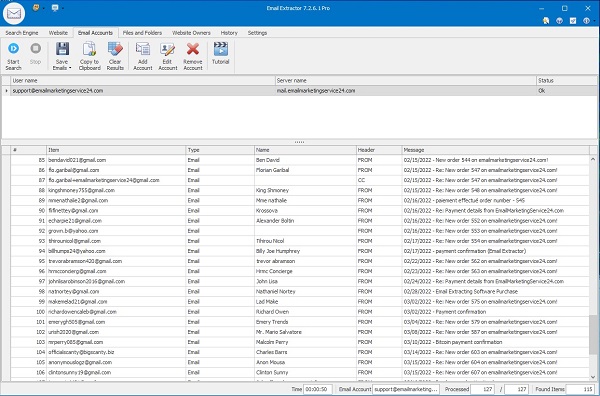
Extract from Email Accounts (POP3 / IMAP)
Connect securely to IMAP/POP3 mailboxes to extract email addresses from messages. Make sure POP/IMAP is enabled (Gmail/Yahoo links below).
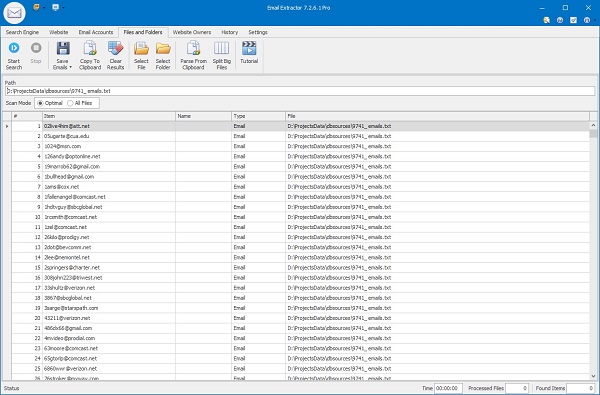
Extract from Files & Folders
Select files or a folder to parse TXT, CSV, XLSX, DOCX, PDF and HTML documents. Group similar file types to speed up processing and reduce false positives.
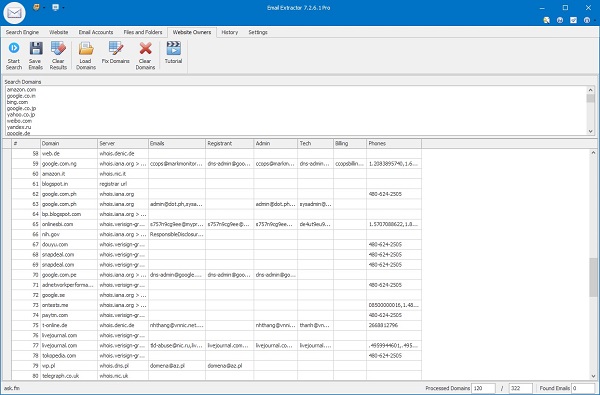
Extract from WHOIS Database
Load domain lists or paste domains manually to fetch WHOIS records. The app extracts emails and administrative contacts found in WHOIS responses.
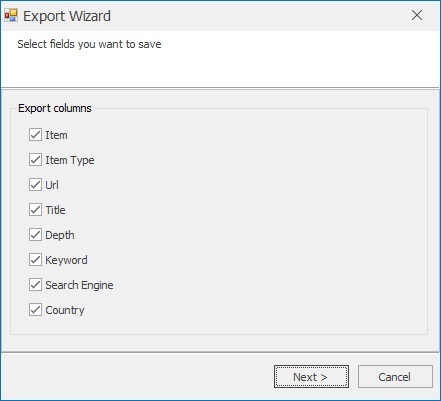
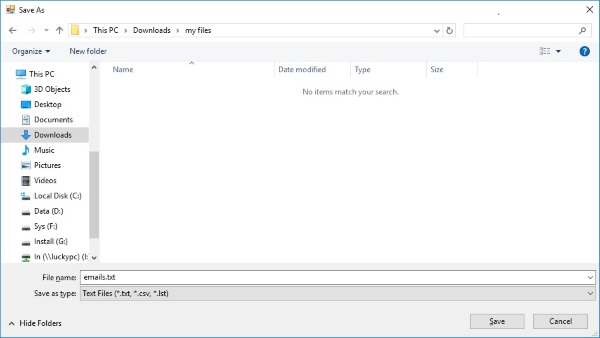
Save / Export Results
After extraction click Save Emails on the toolbar. Choose which fields to include and export to .txt, .lst, .csv or Excel formats. Use View Results to open the exported file immediately.
Best Practices & Tips
- Run a quick validation filter immediately after extraction to remove malformed addresses.
- Separate prospect lists, customers and internal contacts to protect deliverability.
- Schedule periodic re-extraction for frequently updated sources.
- Respect privacy laws (GDPR, CAN-SPAM) and use opt-in lists for marketing.
Need More Help?
If you cannot find an answer here, check the full FAQ or contact support for step-by-step assistance: Support.