Saving & Exporting Results
Export • Formats • Excel tipsAfter extraction you can save the collected contacts with the built-in Export Wizard. Use the Save button on the main toolbar to open the wizard and select exactly which data columns to export.
Step-by-step: Exporting
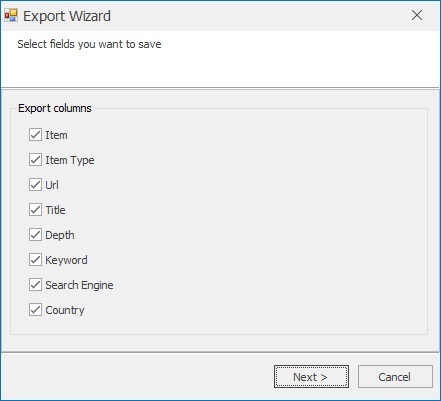
- Click Save on the toolbar to open the Export Wizard.
- Select columns: tick only the columns you need (for example, check Email to export emails only).
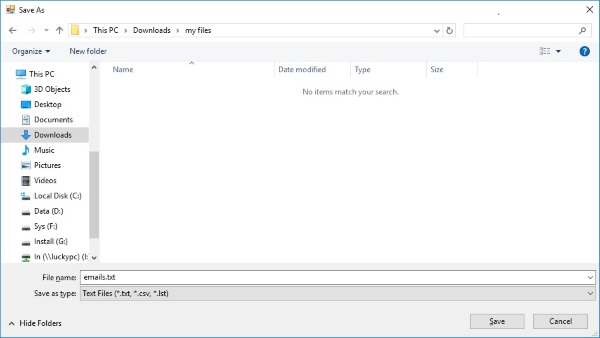
- Click Next to open the Save File dialog.
- Pick the file name and format (.txt, .lst, .csv, or .xlsx where supported).
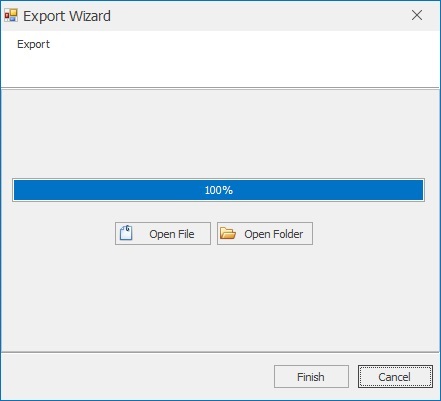
- Click Save — the program writes the file and shows a success notification.
- Use View results to open the saved file immediately.
Recommended formats & when to use them
- .txt / .lst — simple plain lists of emails (one per line); ideal for quick imports to other tools.
- .csv — best for spreadsheets and CRMs; includes multiple columns (Email, Source URL, Title, Phone).
- .xlsx — use when you need richer formatting or large tables; keeps types and headers intact.
Excel & CSV tips
- When opening .csv in Excel, use Import → Delimited (choose comma or semicolon depending on your locale) to prevent locale mis-parsing.
- If Excel shows numbers or trims leading zeros, import using the Text import wizard and set columns to Text format.
- To preserve long IDs or phone numbers, always save as .csv with proper quoting or use .xlsx.
Post-export cleanup & best practices
- Run a duplicate removal and validation step before importing into email platforms to reduce bounce rates.
- Keep the Source URL column when possible — it helps verify and recheck contacts later.
- Split very large exports into smaller files if your email platform has import size limits.
Common issues & fixes
- Blank file after export: verify you selected rows or the correct dataset in the Results pane before exporting.
- Excel encoding problems: save CSV using UTF-8 encoding or open via Excel import wizard and specify UTF-8.
- Fields missing: ensure the required columns were checked in the Export Wizard and the app has permission to write to the destination folder.
Need to export frequently?